

How To Smooth Picture In Photoshop
Often, the silky skin that we see in adverts and magazines isn't completely natural. Many photos that you see have been touched up to make the skin appear more even, softer, and younger. Digital editing can help to get rid of unwanted features such as wrinkles and blemishes while also improving color.
While skin softening is an important part of portrait editing, it's often tricky to achieve a healthy, glowing look. If you overdo it, your subjects can end up looking fake or unnatural. Smoothing skin using Photoshop takes a light touch, and less is often more.
When it comes to skin smoothing, It's a good idea to know all of the editing tools at your disposal so that you're able to get the look that you want.
Why Use Photoshop to Smooth Skin?
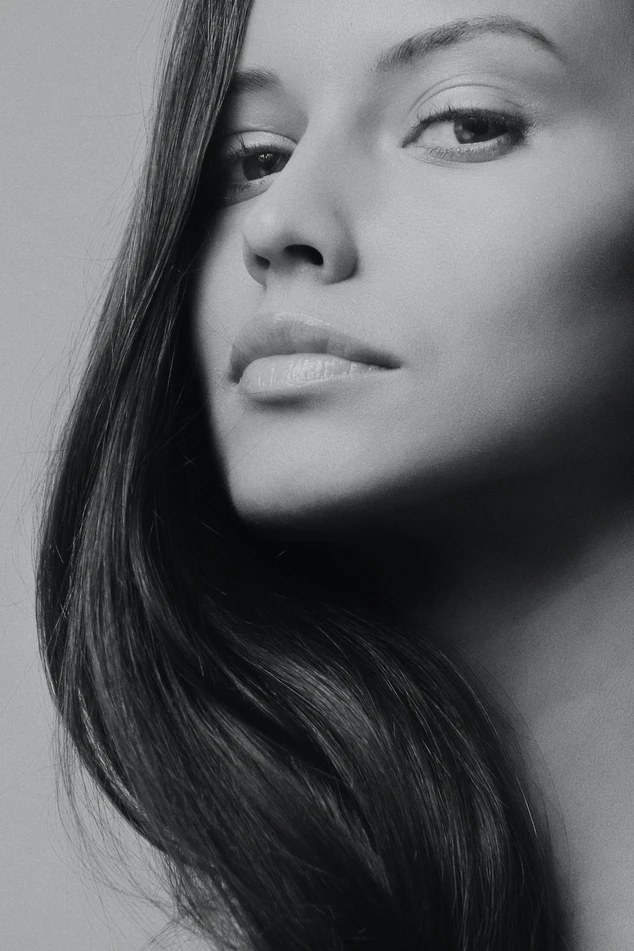
Photo by Alexander Krivitskiy
Knowing how you can smooth skin in Photoshop is an invaluable skill for any photographer. Photoshop is one of the best editing programs for creating flawless yet natural faces.
Once you learn how to smooth skin in Photoshop, you have precise control over every aspect of editing, and there are multiple tools at your disposal to achieve a wide variety of looks. You can tweak any subject's skin in Photoshop to make it as even or as natural as you like.
There are plenty of reasons you may want to smooth skin in Photoshop. For many people, it's an aesthetic choice, especially when it comes to photographs of important events such as weddings and graduations. People wish to remember the moment, but not necessarily the blemish that they woke up on their big day.
Each person is different when it comes to Photoshop editing preferences. While some people prefer a relatively natural look, only removing glaring wrinkles and blemishes, others prefer a more heavy-handed approach. The use of smooth skin in Photoshop in Hollywood has made the airbrushed look much more popular these days for people from all walks of life.
Ethical Questions and Concerns

Photo by Romina Farías
While plenty of people embrace digital editing via Photoshop in today's culture, there are also those that oppose normalizing the practice. Photoshopping the skin of the stars and models that we see each day can set an unrealistic standard of beauty in the real world.
People expect their skin to look like the flawless photos that they see in magazines. This not only encourages excessive spending on skincare products and elective surgeries but can also affect the self-perception and self-esteem of younger generations.
While there's no clear, single answer on the ethics of Photoshop skin softening, many can agree that it should be used in moderation. As a society, we must recognize that editing photographs isn't an indication of how we should look.
Instead, we should recognize that it's an aesthetic choice. It's especially important to impress upon young minds that the Photoshopped images they see in the media don't necessarily reflect the real world.
The Best Tools to Soften Skin in Photoshop
Mastering these different tools will help you edit portraits and get rid of blemishes and redness.
The Healing Brush

Photo by Noah Buscher
Two of the most commonly used Photoshop tools for editing portraits are the Healing Brush tool and the Spot Healing Brush. Both can help you to touch up skin in Photoshop by removing imperfections such as scars, acne, and wrinkles. These brushes work by changing colors to match surrounding pixels. While the Spot Healing Brush is ideal for small spots, large areas such as tattoos may require the Healing Brush.
When using Healing Brushes, you should keep the size small so that you can make changes with precision. If you use too large a brush, spot edits may end up looking unnatural or out of place. You should also lower the brush's Hardness to around 50% so that your changes blend mode into the image naturally.
The Clone Stamp
The Clone Stamp tool works in a very similar way to the healing brush and is considered another one of Adobe Photoshop's more basic repair tools. While the Healing Brush adjusts tone and color, however, the Clone Stamp tool outright duplicates elements around a sample selection. You can choose a section of skin from one area of the face and apply the same color and skin texture to other regions.
Blending Modes
Photoshop offers a variety of ready-to-use blending modes that can help you get started in skin smoothing and soften and smooth your image. Sometimes, applying a blending filter is all it takes to soften skin.
There are more than a dozen different blending modes, but one of the most popular is Photoshop's Gaussian Blur filter. Drag the slider to add Gaussian Blur to a portrait while you're smoothing skin and it will help to give it the healthy "glow" that we often associate with magazine models.
Layer Masks

Photo by Houcine Ncib
Clicking on the Add Layer Mask icon on the bottom of the Layers Panel allows you to make changes to an image or skin without accidentally destroying the original. Most Photoshop editors use a transparent layer so that they can work on an image while still being able to see the picture below. It's best to use a layer mask for making major changes such as spot blending and adding filters.
Steps to Smoothing Skin Using Photoshop
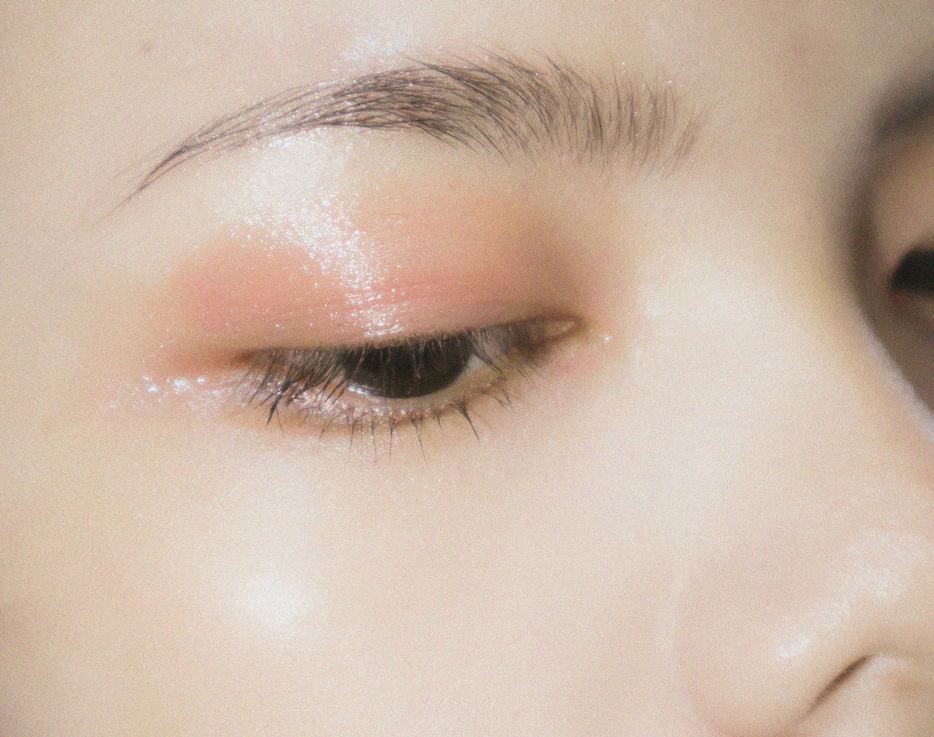
Photo by Linh Ha
There are many different ways that you can create a silky smooth look in Photoshop. This is an easy method for beginners and pros alike that results in natural-looking skin texture in just a few simple steps in Photoshop.
Invert the Colors
Our step 1 is to create a duplicate layer to protect the original image in Photoshop. Then go to the Photoshop Adjustments Tab and invert the colors. (Image > Adjustments > Invert) Finally, under the Layers Panel, select the blending mode labeled Vivid Light. You should be left with just the bare details of the face in highlights and shadows.
Filter the Picture
In Step 2, go to Filter Tab In Photoshop, navigate to Other, and click ok on High Pass. (Filter > Other > High Pass) This is an edge detection filter in Photoshop that will help to define important boundaries around your image. To keep features soft, set the Radius between around 20 and 26. The larger your photo, the higher you can set the Radius.
Add Glow
You should end up with a picture close to your original in Photoshop, but heavily blurred. In step 3, to add a healthy glow, go back to the Filter Tab, navigate to Blur, and add a filter Blur Gaussian with a Radius between 2 and 4. (Filter > Blur Gaussian)
Add a Layer Mask
The final step is to add a Layer Mask over top of your image. With a later mask, you can make sure you use the Photoshop Brush Tool to polish over any problem areas. In step 4, you must use a gentle touch when doing this to create a natural feel n this layer.
You can change the brush size settings in the dialog box to soften its smoothing effect, including setting Hardness and Opacity to around 50%, Flow to 100%, and Mode to Normal.
Using Frequency Separation

Photo by Autumn Goodman
Frequency Separation is a somewhat advanced Photoshop technique that allows you to separate high and low pixel information and edit each in a separate layer in Photoshop. In layman's terms, this means that you can edit the texture of skin without affecting the detail in Photoshop, and vice versa.
When it comes to skin softening, you can remove blemishes at a high frequency and even out color at a low frequency in a layer. Unlike other Photoshop methods, you don't run as much of a risk of accidentally discoloration skin as you work.
You're also less likely to over-smooth skin in Photoshop, leaving you with a more natural final picture. With practice, you can use Frequency Separation to touch up portraits in a few easy steps.
Add Two New Layers
First, go to the Layers Panel and duplicate your original photo to create two new Photoshop layers. Unlike other skin editing methods, you need at least two layers so that you're able to deal with both high and low frequencies separately.
Separate Frequencies
Hide the high-frequency layer so that you can concentrate on the color of your image. Add a Gaussian Blur and adjust the settings high enough so that you can no longer make out fine details such as pores.
Next, select the high-frequency layer. IIn that layer, go to the Apply Image dialog box and, on the layer drop-down, choose the low-frequency layer. Once you've chosen the low-frequency layer, under the blending menu, go to Subtract and click OK. Set the Scale and Offset values appropriately, and then turn off Invert.
You should see a gray image with just the bare outline of your portrait. If you change the blending mode to Linear Light, you'll find yourself back at your original photo. However, now high and low-frequency pixels are separated between your two duplicate layers.
Work on High Frequencies
Once you're ready, it's best to first work on skin details before moving on to color. Select the appropriate layer and select your repair tool of choice, whether that's the Healing Brush Tool, the Clone Stamp, or something else. Check the Tools Options at the top of the page to make sure that you're working on the Current Layer.
Tackle Low Frequencies
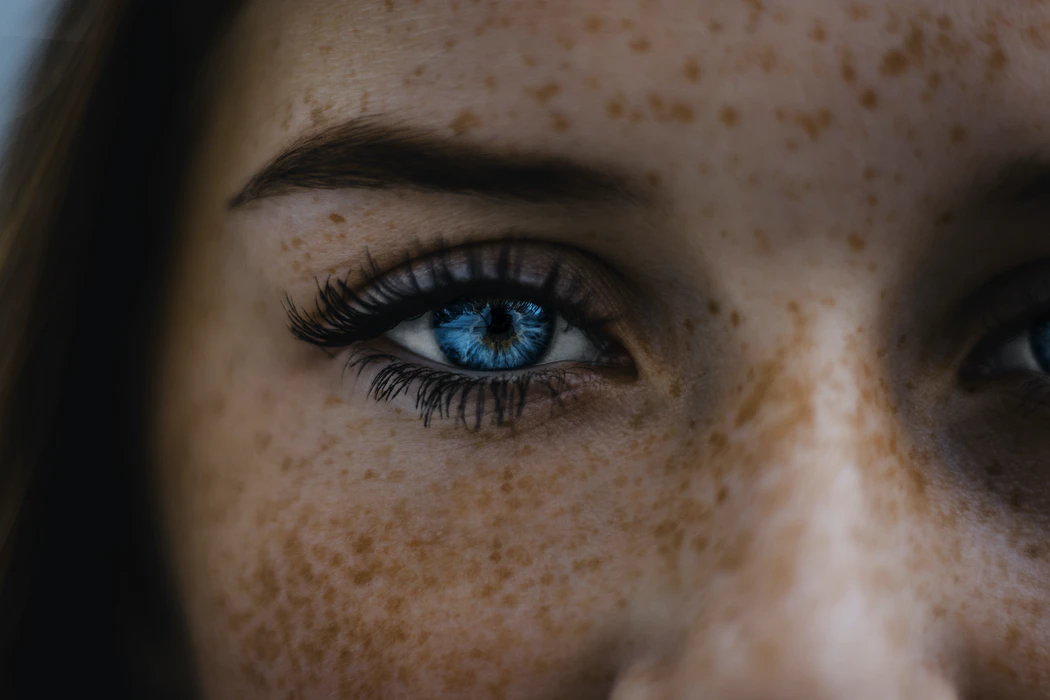
Photo by Tommy van Kessel
Once you've eliminated any blemishes, you can focus on fixing discoloration. Select the low-frequency layer and open the Quick Mask dialog box. Once you've selected the low-frequency layer, go to Selected Areas and click OK before setting the foreground color to black.
Using the Brush Tool, select the brush feathered option with a Hardness of 0. Paint over areas of concern, such as around the eyes, lips, and forehead. You can now edit each of these separately to add just the right amount of blurring. This helps to even out color and create the appearance of youthful skin.
How to Avoid Losing Detail

Photo by Amanda Dalbjörn
While Photoshop editing is a popular way to soften skin tone and improve the appearance of portraits, it can end up doing more damage than good if not used properly. When skin is overly airbrushed in Photoshop, it can give photos an "uncanny valley" quality that many people find unsettling.
You can achieve soft, natural-looking skin texture in Photoshop by sticking to tools such as the Clone Stamp. This copies both color and texture during touchups, allowing you to retain the appearance of features such as pores. If you use the healing brush, you should limit yourself to working in small areas to achieve a more natural and even end result.
If you're concerned about losing detail, be sure to go easy on blurs and filters on your later. While tools such as Photoshop's Gaussian Blur can help to create a softer appearance in a new layer, high settings can cause an entire image to appear fuzzy or blurred. If you do use a filter in a new layer, be conservative in how you apply it.
The Best Skin-Smoothing Effect Tutorial
If you want to learn more about how to edit portraits in Photoshop, you can turn to a tutorial. You can find a photo or video tutorial geared towards people looking to touch up faces in their photos. You can also find a tutorial with techniques in Photoshop Elements and Lightroom.
It may help to look up a wedding touchup tutorial. Often, these focus on the face and teach you how to create an even and flawless appearance. A wedding Photoshop tutorial often takes a heavy-handed approach to eliminating imperfections. If you're looking for a more natural look, you may want to search for a tutorial that focuses on technique rather than end results.
Additional Questions
Here are a few additional tips for creating smooth skin in Adobe Photoshop.
- How do you smooth baby skin in Adobe Photoshop?
Babies tend to have naturally soft skin texture that doesn't require much Photoshopping to look smooth. In general, you won't need to use repair tools to spot healing edit baby skin. It's usually easier and more effective to add a low-level filter blur to the image to make it appear softer or to add a slight glow.

Photo by Filip Mroz
- Is there a plugin for skin smoothing in Photoshop?
If you're new to editing or simply want to save yourself some time while smooth the skin, you can use a dedicated Photoshop plugin to create a flawless yet natural look in portraits. One of the most widely used is the Beauty Box Photo plugin, which automatically identifies and evens out skin tones.
How To Smooth Picture In Photoshop
Source: https://www.colesclassroom.com/the-detailed-guide-on-how-to-smooth-skin-in-photoshop/
Posted by: higginbothamfacking.blogspot.com
0 Response to "How To Smooth Picture In Photoshop"
Post a Comment